Textures! Let’s Use Some
To see anything on our beautiful new window we will need ourselves some textures/assets. While you can opt to use your own art for the sake of this tutorial I will be using Kenneys Assets. If you also use his assets please make sure to give him your support as all his assets are free! Kenneys Assets I am using

This is also the first look at what we will be trying to create!
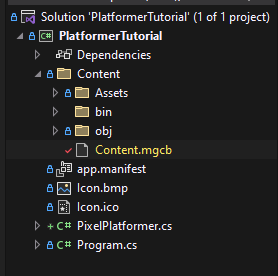
Once you download / have your assets we will need to create our assets folder. For sake of cleanliness we will put it in our handy Content folder MonoGame
created for us. We will place our assets inside here! For this - in Kenneys Asset I downloaded I’m going to use Tilemaps/tilemap-characters_packed.png and I will rename
it to Characters.png
Here is what my folder structure looks like now:
└── 📁Content
    └── 📁Assets
        └── Characters.png
    └── Content.mgcb
Great! we now have our assets… so now what?
Well MonoGame uses its own tool to essentially ‘pack’ our asset data. There’s more details to it - If intrested feel free to ask in the Discord! - But for us we don’t need to think too hard about it!
We first need to get over the hurdle of opening this tool. This can be a struggle to open sometimes - and sometimes it goes smoothly.
If youre using VS2022 since you’ve downloaded the templates you should be able to double click Content.mgcb in the explorer.
As for Visual Studio Code users / JetBrains Rider / Any other editor we will open from the terminal.
In your project directory run the following command:
dotnet tool restore (Should only have to run this one time) and then run
dotnet mgcb-editor ./Content/Content.mgcb
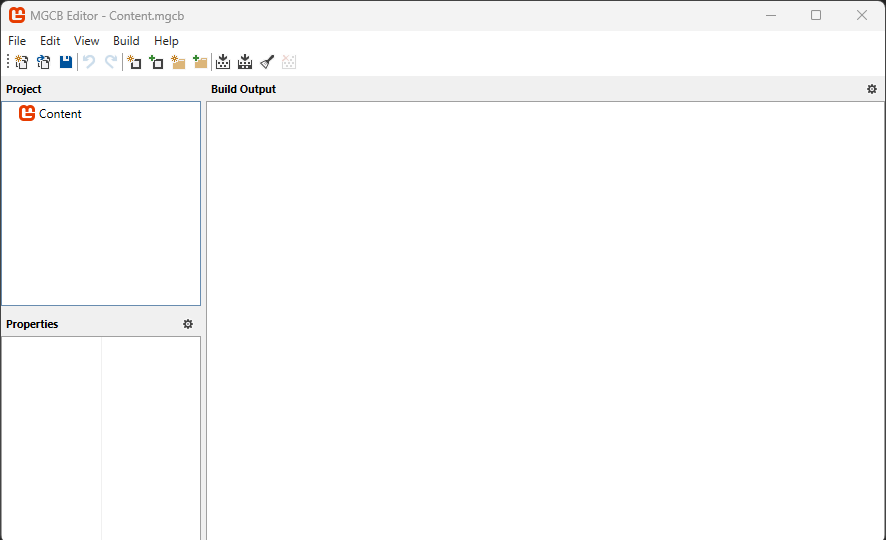
This should hopefully open the MGCB Editor. If you are having any issues refer to the official documentation Here. You can also ask in the #help channel of the official Discord and I’m sure someone will be able to assist
MGCB Editor
Nice! You’re in the editor now. On the left pane is where our projects resource structure is. If we try to load an asset that is not here / built it will not load and crash.
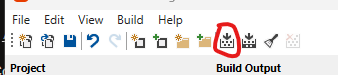
So lets get our assets here. Select the little folder icon with the green + sign next to it. And navigate to our Content/Asset folder and select it.
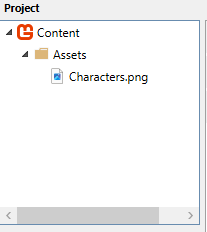
Once you select the Asset folder it should now show on the left pain with our Characters.png
Great! now all we have to do is build our assets. Select the “Build” option in the top menu of selections.
Our file should now have been successfully built!
Main Methods of Game1.cs
We now built our assets! I will give a quick break down of the main methods within Game1.cs (Feel free to rename but I will refer to this file as such throughout the tutorial).
There is 4 methods here and our games constructor. The methods come from the inherited Game class within MonoGame.
-
Constructor
- The constructor gets called before initialize.
- Contains some initial settings for us by default
- I tend to leave this default and use Initialize for my additions.
-
Initialize
- Initialize gets called once at the start of our game.
- I use this to specify MonoGame related settings and then my Games initialization
-
LoadContent
- LoadContent is a little self-explanitory, This is where we will load our content.
- Called after Initialize
-
Update
- Update is our main game loop and where majority of our code will live
-
Draw
- Draw is where our code for drawing our game to the screen will live.
- Draw uses SpriteBatches for our draw calls.
- We will stick to using 1 Spritebatch (besides 1 exception later on)
- We want to not have any calculations in here if possible. This should only be used for drawing
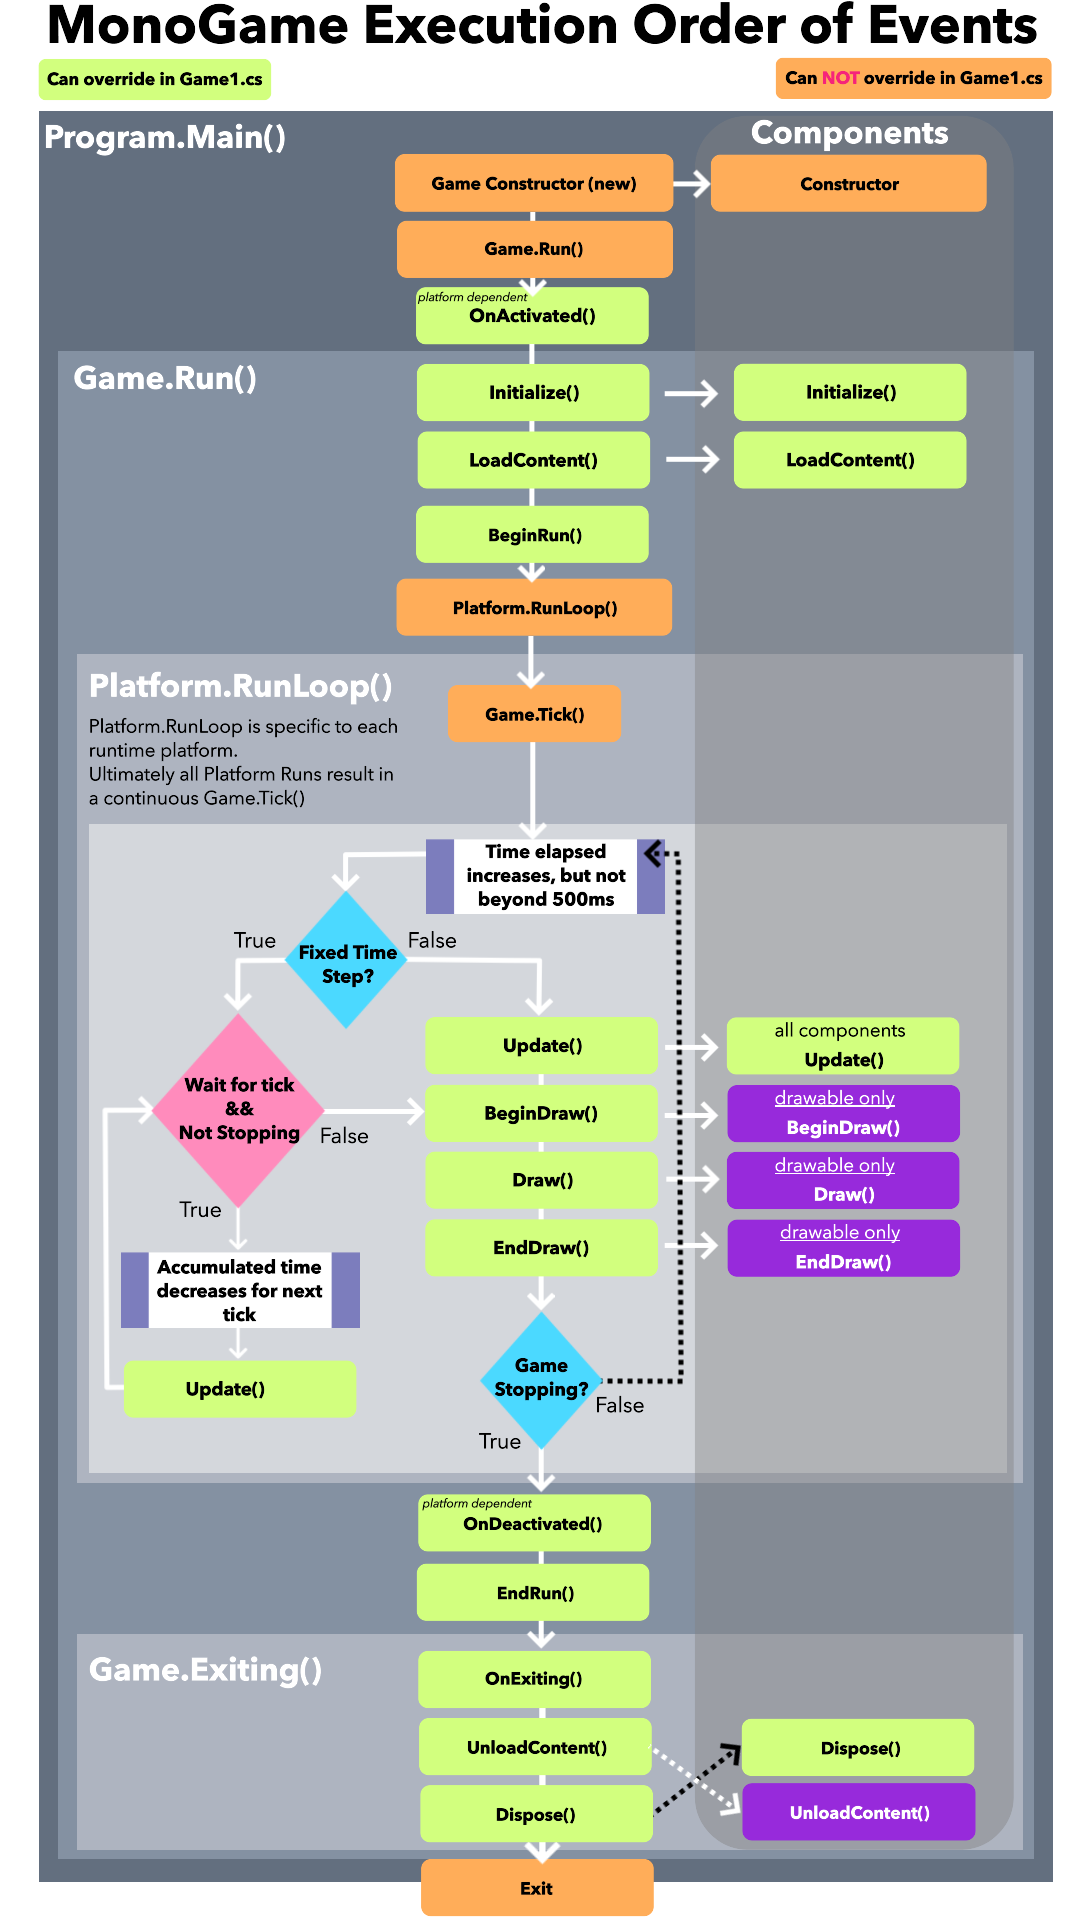
Here is a more detailed image of the execution order for MonoGame:
Loading our asset
In order to see our asset on screen we will need to load it. Lets do that now! (Finally)
At the top of our PixelPlatformer class lets create a variable to hold our Texture, just under the SpriteBatch
private GraphicsDeviceManager _graphics;
private SpriteBatch _spriteBatch;

private Texture2D _characterAtlas;
Lets now load it in LoadContent
protected override void LoadContent()
{
    _spriteBatch = new SpriteBatch(GraphicsDevice);

    _characterAtlas = Content.Load<Texture2D>("Assets/Characters");
}
We need to use the ContentManager to load our asset from what we just built in MGCB Editor. To do this we need to call Content.Load<>() (Content is defined in the Game class)
with the type Texture2D since that is what we are loading and pass in the path to the Texture. This path is a relative path from our MGCB Content.
If you recall in MGCB Editor We had Content/ and then we added Assets/Characters.png to it. the path is relative to Content/ as the root.
So we pass in Asset/Characters without the file extension - MonoGames MGCB built a XNB & mgcontent file from our png and it will use our path to find it. You can
see these in our files: Content/bin/DesktopGL/Assets/Characters.xnb & Content/obj/DesktopGL/Assets/Characters.mgcontent.
Lets draw this texture to the screen.
protected override void Draw(GameTime gameTime)
{
    GraphicsDevice.Clear(Color.CornflowerBlue);

    _spriteBatch.Begin(SpriteSortMode.Deferred, samplerState: SamplerState.PointClamp);
    _spriteBatch.Draw(_characterAtlas, new Vector2(200, 200), Color.White);
    _spriteBatch.End();

    base.Draw(gameTime);
}
_spriteBatch.Begin(SpriteSortMode.BackToFront, samplerState: SamplerState.PointClamp);
Here we need to specify the start of our draw calls with Being(); while also passing some extra optional parameters
SpriteSortMode.BackToFront will allow us to specify a depth with a float from 0.0 - 1.0 for what order to draw the sprite.
samplerState: SamplerState.PointClamp parameter is used to ensure we keep sharp pixels for our low res image.
_spriteBatch.Draw(_characterAtlas, new Vector2(200, 200), Color.White);
_spriteBatch.End();
The Draw() method has quite a few overloads. For now we simply just want to draw it to the screen, So we are using the overload for Texture/Position/Color
We specify our texture variable we made, a Vector2 for the position new Vector2(200, 200) and the Color. We will only be using Color.White in here. It ensures
to always draw the complete image as it was drawn.
And then we simply call End() to specify we are done with this batch. But again - for now all our drawing logic will be inbetween the same
Begin and End calls.
If you run the game now we should now see our texture on the screen!
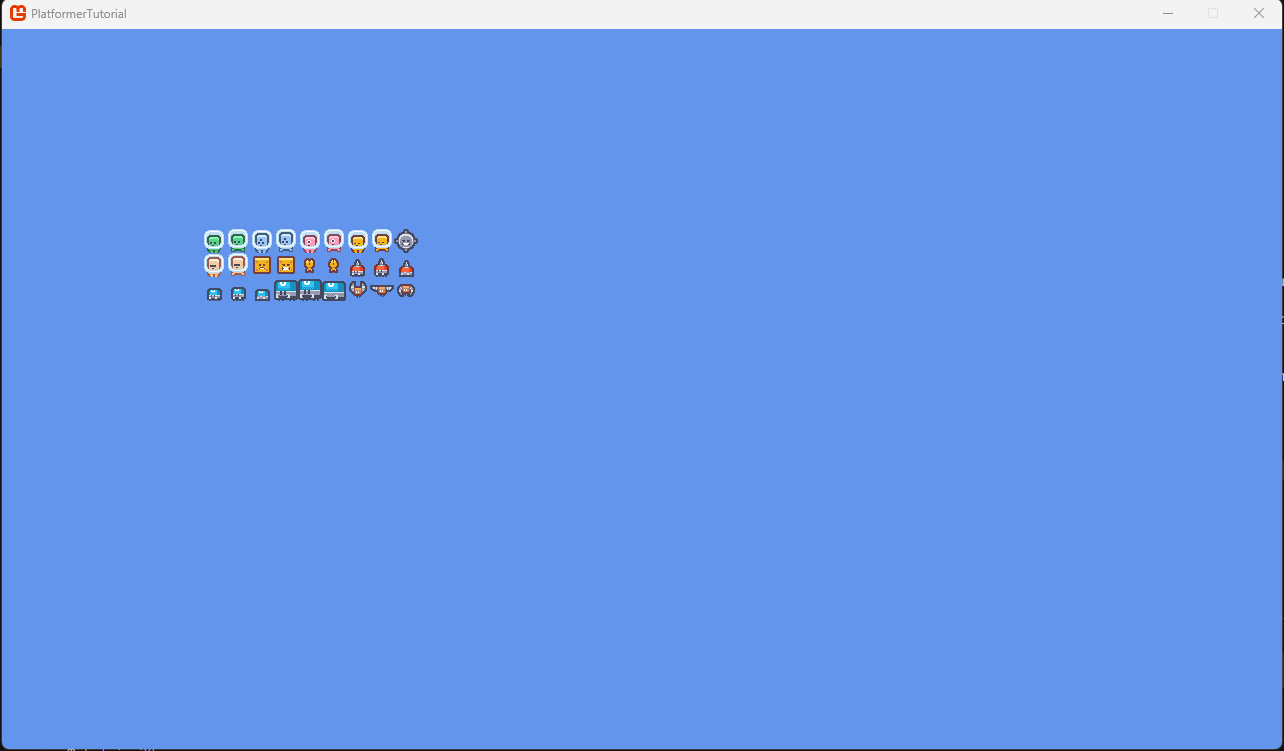
Woohoo! An image!~ We made a game!… wait a second, this doesnt seem right? we see all the characters! AND ITS SO SMALL?
So in the next post we will solve this! we will
- Create it so we only see the character we want
- Enlarge the character so it is bigger on our screen.
- And if theres time we will move it around as well!
Thank you! I hope this part was hopeful to you! As always make sure to join the Discord and feel free to ping me Ellie.x3.
I also made a post in #Forums called Ellies Dev Tutorial Blog. Please post feedback there!
Also I now made a github repo! All code is Here